Ajenti is a robust, open-source control panel designed to streamline the management of Linux servers through an intuitive web interface. Its extensive range of plugins facilitates the administration of various services, including emails, websites, and domains. This guide provides a detailed walkthrough for installing and configuring the Ajenti Control Panel on an Ubuntu 20.04 server.
Prerequisites
Before proceeding, ensure the following conditions are met:
- Operating System: Ubuntu 20.04
- User Privileges: Access to a user account with sudo privileges
Step 1: System Update and Package Installation
Begin by updating the system repositories and upgrading existing packages to their latest versions. This ensures compatibility and optimal performance.
apt-get update -y
apt-get upgrade -y
After the upgrade process completes, it is advisable to reboot the system to apply the changes effectively.
Install Ajenti Control Panel
By default, the Ajenti package is not included in the Ubuntu default repository. So you will need to download the Ajenti installation script from the Ajenti official website. You can download it with the following command:
curl -O https://raw.githubusercontent.com/ajenti/ajenti/master/scripts/install.sh
Once the script is downloaded, start the installation by running the following command:
bash install.sh
Once the Ajenti Control panel is installed, you should get the following output:

Step 4: Manage the Ajenti Service
Upon successful installation, Ajenti operates as a systemd service. Control its state using the following commands:
systemctl start ajenti
systemctl stop ajenti
You can also verify the status of the Ajenti with the following command:
systemctl status ajenti
You should get the following output:

By default, Ajenti listens on port 8000. You can check it with the following command:
ss -tunelp | grep 8000
You should get the following output:
Step 5: Configure Firewall Settings
By default, Ajenti listens on port 8000. Ensure that this port is open in your firewall settings to allow external access.
-
Using UFW:
sudo ufw allow 8000/tcp sudo ufw reload -
Using iptables:
sudo iptables -A INPUT -p tcp --dport 8000 -j ACCEPT sudo netfilter-persistent save
Step 6: Access the Ajenti Web Interface
With the service running and the firewall configured, access the Ajenti web interface through your preferred web browser:
Upon first access, you may encounter a security warning due to a self-signed SSL certificate. Proceed by adding a security exception.
Step 7: Log In to Ajenti
The default login credentials are:
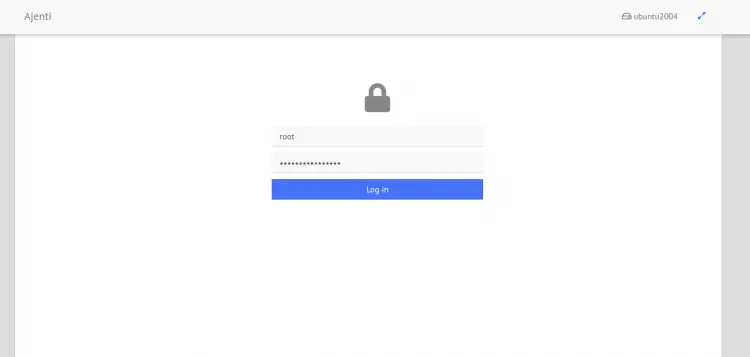
- Username: root
- Password: admin
For enhanced security, it is imperative to change the default password immediately after the initial login.
Click on the Plugins. You should see the following page.
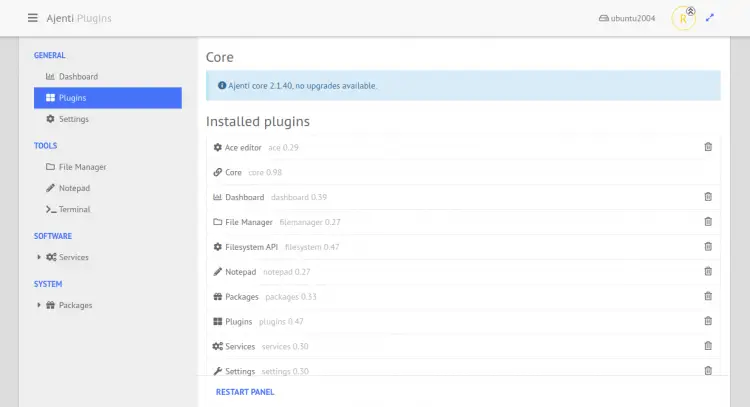
From here, you can install your desired plugins to extend the functionality of Ajenti.
Click on the File Manager. You should see the following page:
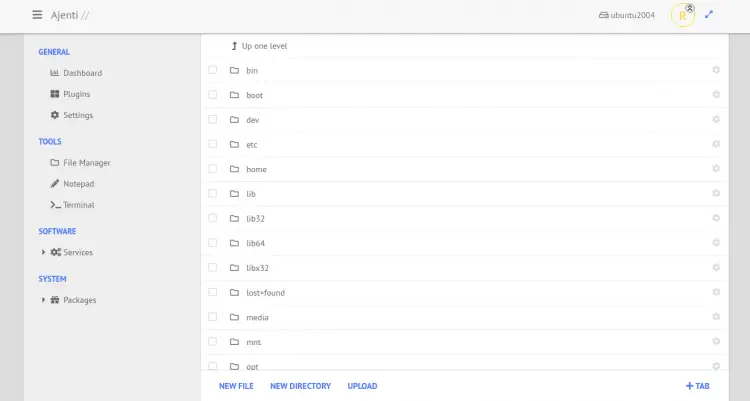
From here, you can create, manage and browse files and directories.
Click on the Services. You should see the following page:
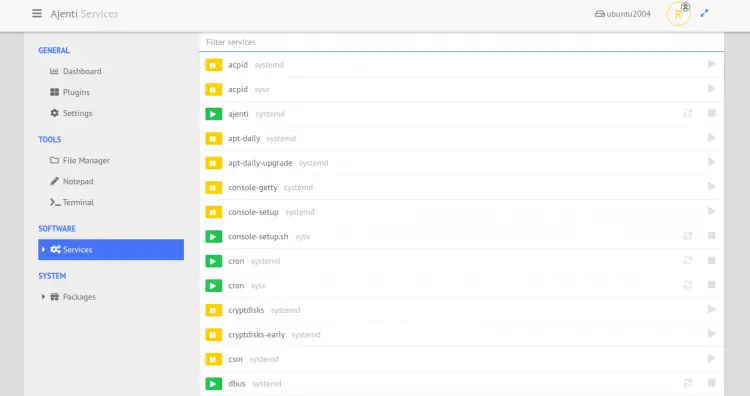
From here, you can start and stop system services.
Click on the Terminal. You should see the following page:
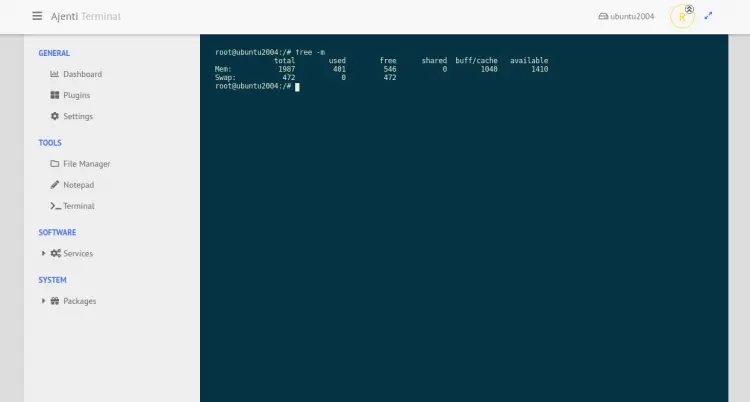
From here, you can run any command in your Linux system.
Click on the packages => APT. You should see the following page:
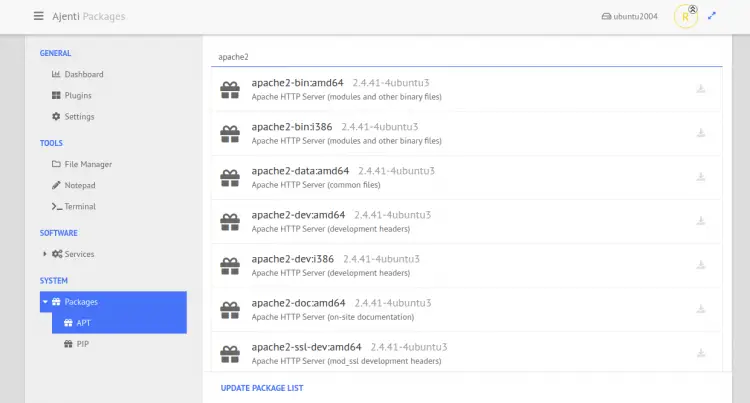
You can install and remove any package from your system.
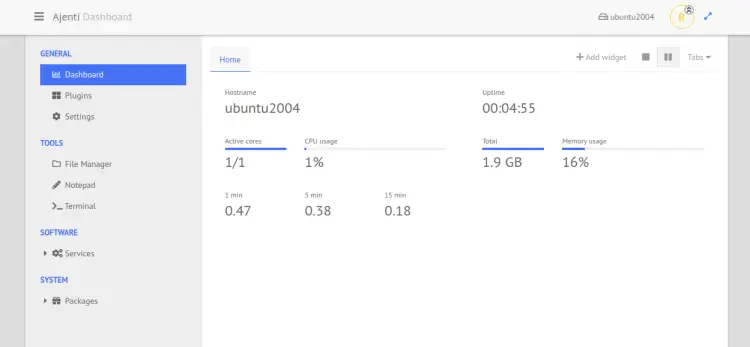
Step 8: Explore Ajenti's Features
Ajenti offers a plethora of features accessible through its user-friendly interface:
- Dashboard: Provides an overview of system metrics and performance indicators.
- Plugins: Extend functionality by managing services such as web hosting, databases, and more.
- File Manager: Facilitates file and directory management directly from the browser.
- Services: Allows starting, stopping, and restarting system services with ease.
- Terminal: Offers command-line access for advanced administrative tasks.
- Package Management: Enables installation and removal of software packages.
Step 9: Install Additional Plugins
To enhance Ajenti's capabilities, consider installing additional plugins:
-
Navigate to the Plugins Section: Click on the "Plugins" option in the sidebar.
-
Browse Available Plugins: Review the list of available plugins to identify those that meet your requirements.
-
Install Selected Plugins: Click the "Install" button next to the desired plugin.
-
Restart Ajenti: After installation, restart the Ajenti service to apply changes:
sudo systemctl restart ajenti
Security Considerations
For production environments, it is crucial to implement robust security measures:
- Use Strong Passwords: Replace default credentials with complex passwords.
- Implement Firewall Rules: Restrict access to the Ajenti port to trusted IP addresses.
- Regular Updates: Keep Ajenti and system packages up to date to mitigate vulnerabilities.

